
Writing a .NET Aspire Container Resource
Using .NET Aspire to orchestrate dependencies in development by adding them to the AppHost as custom container resources

Introduction
.NET Aspire is a new set of tooling aimed to improve the developer experience when building distributed cloud native applications. One of the ways in which Aspire improves the developer experience is by providing a set of components for common services such as MSSQL, Postgres, Redis, etc. It helps integrate these seamlessly into your development stack, and provides functionality to orchestrate dependencies.
At the time of writing Aspire is still in preview. Whilst there are existing components for many common services, it still lacks support for others. Fortunately, we can write our own without too much hassle.
The aim of this blog post is to write our own Aspire component which will run a container. We’ll convert a docker-compose.yml file that I was previously using to orchestrate my dependencies, and convert it so that an Aspire host is able to start my containers when I run the rest of my solution.
I’m going to be writing a container resource for OpenSearch (an open-source search engine). There’s no specific reason I chose this, so the following steps should apply for any dependency that you have a container for.
If you’d prefer to just view the code directly, you can find it here.
Here’s the docker-compose that I’m aiming to convert to an Aspire component in the subsequent steps.
services:
  opensearch-node1:
    image: opensearchproject/opensearch:2
    environment:
      - "discovery.type=single-node"
    volumes:
      - opensearch-data1:/usr/share/opensearch/data
    ports:
      - 9200:9200 # REST API
      - 9600:9600 # Performance Analyzer

volumes:
  opensearch-data1:
Note: This starts an OpenSearch container, with ports 9200 and 9600 bound on the host and with a single volume mount configured.
Writing a container resource
1. Create an Aspire Application
To start with I’ll create a boilerplate aspire AppHost. If you already have one of these in your solution feel free to skip this step. I’ll be starting with the blank template and adding my resources manually. If you don’t see Aspire in your list of templates you may need to follow the installation docs here.
dotnet new aspireThis should yield you a solution which looks something like:
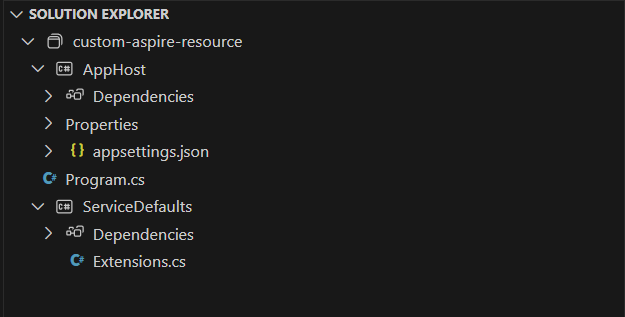
The AppHost is the project where we can start to add dependencies that we want to orchestrate as part of our solution.
2. Define a container resource
First, we need to define a Container resource. We can do this by inheriting the ContainerResource class from Aspire and adding it to our AppHost project like below:
public class OpenSearchContainerResource(string name) : ContainerResource(name)
{
}
For now that’s all we need, but we’ll be extending this later.
3. Create a resource extension
Next, we’ll add an extension method to the AppHost project to add our resource to the host builder like so:
public static class OpenSearchBuilderExtensions
{
    public static IResourceBuilder<OpenSearchContainerResource> AddOpenSearchContainer(this IDistributedApplicationBuilder builder, string name)
    {
        return builder.AddResource(new OpenSearchContainerResource(name))
            .WithAnnotation(new ContainerImageAnnotation
            {
                Image = "opensearchproject/opensearch",
                Tag = "2"
            });
    }
}
Note: The above adds our ContainerResource to the Aspire Host, and references the image we’d like to use -
opensearchproject/opensearch:2.
4. Expose container ports (optional)
If you need to expose ports on your container resource, you can do so like below by chaing a ServiceBindingAnnotation to our resource builder extension
// ... omitted
return builder.AddResource(new OpenSearchContainerResource(name))
         // ... omitted
         .WithAnnotation(new ServiceBindingAnnotation(ProtocolType.Tcp, port: 9200, containerPort: 9200, name: "Rest"));
Note: This creates a binding from 9200 on our host and maps it to 9200 on the container. You can expose as many ports as you need by chaining additional ServiceBindingAnnotations.
5. Configure volume mounts (optional)
If you’d like any data from your container to be kept around after stopping/starting the solution you’ll need to configure volume mounts. We can use a VolumeMountAnnotation to configure the volume. We’re able to specify both named and bind volume mounts.
// ... omitted
return builder.AddResource(new OpenSearchContainerResource(name))
              .WithAnnotation(new VolumeMountAnnotation("opensearch-data-1", "/usr/share/opensearch/data", VolumeMountType.Named));
Note: The above creates a named volume “opensearch-data-1” and mounts it at the path “/usr/share/opensearch/data“. Later, when we start / stop the solution this means any data we create will stick around even when the container is destroyed.
6. Configure environment variables (optional)
Environment variables will be specific to your use-case, but in this example I’m going to add the discovery.type environment variable using the WithEnvironment method on the resource builder. The below will be chained onto our existing Resource builder extension.
// ... omitted
return builder.AddResource(new OpenSearchContainerResource(name))
         // ... omitted
         .WithEnvironment(x =>
             x.EnvironmentVariables.Add("discovery.type", "single-node"));
7. Add the resource to our AppHost
If we head to the Program.cs file on the AppHost project we can now add our custom resource using the extension we created in the above steps.
using Aspire.Hosting;
using AppHost;
var builder = DistributedApplication.CreateBuilder(args);
var opensearch = builder.AddOpenSearchContainer("search");
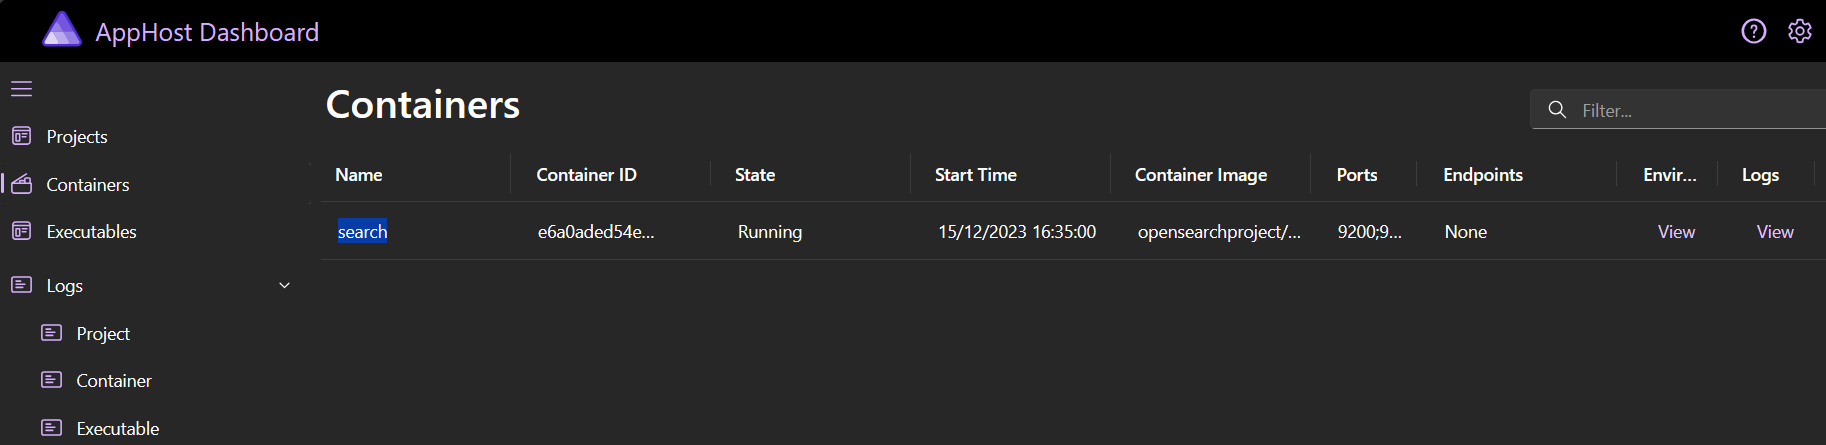
builder.Build().Run();This allows aspire to orchestrate our container. We’ve given it the name “search” in this example which in later steps will be the name we reference the resource by.
If we run the application we can see our container in the Aspire dashboard.
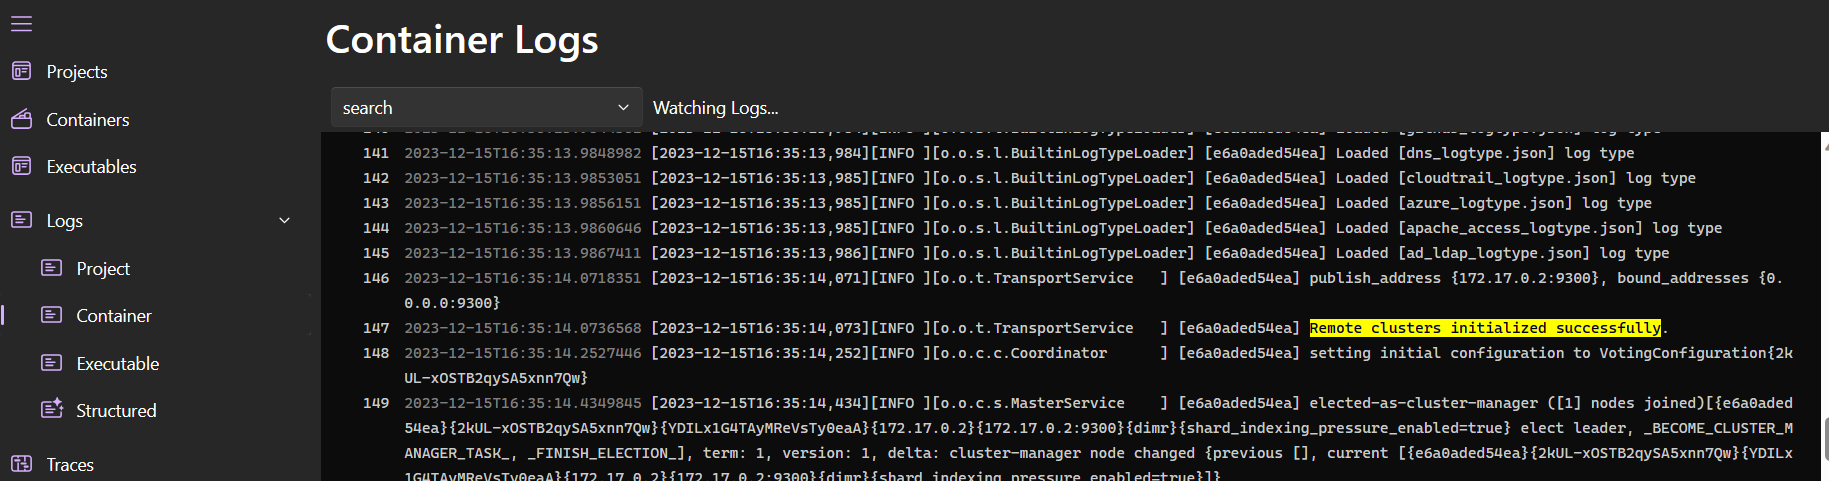
And if we click logs we can see our logs directly from the aspire dashboard:
8. Add a project to our Aspire solution
At this point we’ve been able to run a container from our Aspire host. The next step is to actually add a .NET project so that we can call our OpenSearch container.
We can add a new project, add it to the solution, and reference it from our AppHost with the following commands:
dotnet new web --name Api
dotnet sln add ./Api/Api.csproj
dotnet add ./AppHost/AppHost.csproj reference ./Api/Api.csproj
Next, we can tell aspire to orchestrate our new project by adding the following call to AddProject in Program.cs. This adds our new service with the name “api” and takes a reference to the “search” resource.
// omitted...
var opensearch = builder.AddOpenSearchContainer("search");
builder.AddProject<Api>("api").WithReference(opensearch);
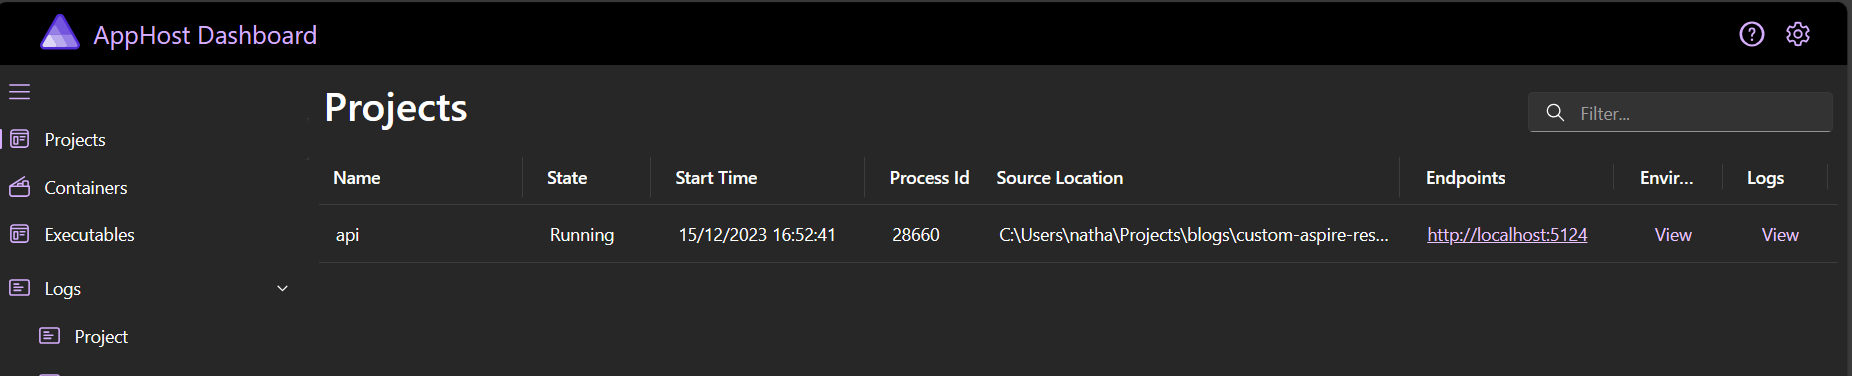
// omitted...If we re-run our aspire solution we’ll now see our project in the running state from the aspire dashboard. As before, we’re able to view logs and other information about the service.
9. Call the resource container from the API
At this point we’ve got both our OpenSearch and API services up and running, so how do we actually integrate the two?
Firstly, I’ve added a dependency to the OpenSearch.Client, package. This is obviously specific to this example, so you’ll need to figure out if the resource you’re integrating has its own Client package.
With the OpenSearch package installed, I can then instantiate a client like below:
var node = new Uri("https://admin:admin@search:9200");
var config = new ConnectionSettings(node);
var client = new OpenSearchClient(config);

var response = await client.Cluster.HealthAsync();
logger.LogInformation("OpenSearch is in {status} state", response.Status);
Note: I’ve referenced the opensearch service by its name, this works because .NET aspire has its own Service discovery mechanism.
If I then run the solution I see the following message logged:
2023-12-15T17:13:03.2098925 info: Program[0]
      OpenSearch is in Green state
Great! It appears as though the integration is working correctly, but given I’ve had to include some basic auth credentials in the URI it would be even better if we could move this to pull from config instead.
Luckily, Aspire has support for injecting connection strings our behalf. If we head back to the AppHost project and find our OpenSearchContainerResource that we created earlier, we can now implement the IResourceWithConnectionString which allows us to provide a connection string in the correct format. We find the endpoint we exposed via its name, which allows us to configure the URI in the correct format like below:
public class OpenSearchContainerResource(string name) : ContainerResource(name),
    IResourceWithConnectionString
{
    public string? GetConnectionString()
    {
        if (!this.TryGetAllocatedEndPoints(out var allocatedEndpoints))
        {
            throw new DistributedApplicationException("Expected allocated endpoints!");
        }

        var allocatedEndpoint = allocatedEndpoints.Single(x => x.Name == "Rest");

        return $"https://admin:admin@{allocatedEndpoint.Address}:{allocatedEndpoint.Port}";
    }
}
Note: You could pass the username and password into the constructor if you wanted these to be dynamic, but you’d also need to ensure your container is configured correctly with these credentials (likely via environment variables)
If we head back to our API project we can now grab the OpenSearch URI from the Connection strings instead of hardcoding it:
// omitted...

if (builder.Configuration["ConnectionStrings:search"] is not string connString)
{
    throw new ArgumentException("Expected connection string search to be a string value");
}

var node = new Uri(connString);
var config = new ConnectionSettings(node);

// omitted ...
Note: The connection string is available under
ConnectionStrings:searchas that is the name of the resource we configured earlier.
Again, if we run the project we can see the log indicating the connection was successful.
Conclusion
That’s the end of the post. Here’s some links you might find useful in case you encountered any issues with the above.
Thanks for reading